DSC_0031

There seems to be a pattern developing here.  When faced with a green I don’t really love, I make a pasta dish incorporating it.  And really, if you add enough cheese to anything it’s delicious.  Since we get a LOT of swiss chard in our farm shares, it’s hard to keep coming up with new ways to eat it – but swiss chard lasagna can now be added to the repertoire.

DSC_0013 (1)


This is a vegetarian recipe and incorporates chopped sautéed mushrooms to replicate the ‘meaty’ texture and flavor in bolognese based lasagnas.  I also squeezed fresh lemons into the ricotta mixture for an acidic note to compliment the earthy flavor of chard.  As an added bonus, this lasagna used up a lot of the fresh herbs we’ve been getting and didn’t require tons of prep time.  It goes into the oven to bake in record time and then just serve with a simple baby green salad on the side and you’re good to go!

DSC_0019


Ingredients:

  • Lasagna Noodles, about half a box
  • Olive Oil – approx two turns of the pan
  • Bunch Swiss Chard – ends trimmed, and chopped
  • 5-6 Mushrooms – chopped
  • 1/2 Yellow Onion – chopped
  • 28 oz. Can Tomato Puree
  • 15 oz. container Ricotta
  • 1 Egg
  • 3 tbsp chopped Fresh Oregano
  • 1/3 cup chopped Fresh Parsley
  • 10 Fresh Basil leaves
  • 1/2 tsp Red Pepper Flakes
  • Juice from 1/2 Lemon
  • 1/2 lb Shredded Mozzarella
  • Grated Pecorino Romano

Start the water for the lasagna and cook the noodles to just slightly under al dente while prepping the filling for the lasagna.  This is a pretty watery lasagna so the al dente noodles will continue to cook and absorb some of the water.

Make the filling.  Boil the swiss chard for 1-2 minutes then drain and squeeze out the excess water and chop into ribbons.  Meanwhile, in the olive oil sautee the onion and mushrooms with 1 tbsp of oregano and the red pepper flakes until the mushrooms are tender and the onions are translucent.  Add the boiled and chopped swiss chard and sautee for a minute more then remove from heat.

In a bowl  mix the ricotta, egg, and parsley with the lemon juice.  In a second bowl combine the tomato puree with the remaining oregano and basil.  Then, assemble the lasagna:

  • 1 layer noodles: 3-4 depending on width of the pan
  • layer tomato sauce
  • layer with dollops of ricotta
  • layer with chard mushroom mixture

Repeat 3 times and finish with a layer of noodles, sauce and the pecorino romano.  Bake, covered, at 375 for 35 minutes.  Then, remove foil and bake another 15-20 minutes to give the top layer a slight crunch.  Let rest before serving.

Fourth Share of 2014

I am seriously behind in posting about our weekly shares!  This is the 4th share of this year’s season, but only our third pick up because we were in Peru for a week.

Machu Picchu has been on the top of both of our travel bucket lists, so this year we did it!  I wasn’t sure what to expect, people talk about it being such a spiritual place, and of course, those views.  So, I tried to approach the trip without any expectations and to just soak it all in as we went.  Machu Picchu itself was incredibly crowded.  When we entered we went straight to Machu Picchu mountain behind the actual site and began the day with a three hour hike, which is absolutely the way to go if you have time constraints and aren’t able to hike in via the Inca Trail.  The mountain wasn’t crowded and it gave us the opportunity to savor the amazing views without the crowds.  Then we hiked back down and spent time in the ruins, and by that time it had sunk in what an amazing place we were in and we didn’t even notice the crowds.  Just us and the llamas.

10375485_786231388930_7955278197036364686_n

But now, back to the real world and CSA cooking.  This share was HUGE, and so green.  We got it right before the 4th of July holiday which was perfect because we went up to Maine with family and had plenty of mouths to help us work our way through all the veggies.

We got, starting at the bottom left and moving clock-wise:

  • Strawberries
  • Bunch of Oregano
  • Head of Green Lettuce
  • Zucchini and Summer Squash
  • Baby Lettuce Salad Mix
  • Head of Salanova Lettuce
  • Head of Endive
  • Garlic Scapes
  • Bunch of Pearl Onions
  • Bunch of Curly Parsley
  • Bunch of Fresh Dill
  • Bag of Beet Thinnings
  • Swiss Chard
  • Bunch of Flat Parsley
  • Cucumbers
DSC_0009

The Salanova lettuce was new to us and is pretty cool.  It’s a relatively new heirloom variety which has been cultivated so that it’s a ‘one cut’ lettuce.  All the leaves are very small and compact so that when you just core it all the leaves fall into bite-sized pieces.  No need to tear lettuce leaves into smaller pieces.  I wish I’d taken a close up of it but hadn’t realized how cool it was at first.  Here’s Johnny’s Seeds’ write up on Salanova.  If we get another head I will be sure to take a close up and do a post on a Salanova salad.

Arrowhead Cabbage Slaw

IMG_0424

So, I’ve been posting a lot of close ups of arrowhead cabbage lately.  Here’s one more for good measure, and it’s probably the last one of the year since I think the season is over!  With this one I made a classic vinegar based slaw and served it with grilled kielbasa.  I’ve said it before and I’ll say it again, cabbage and kielbasa just go together!  I think this is the year I’ll try making sauerkraut to take the combo to the next level, but I’ll wait until I have a round green cabbage for that project.  Arrowhead cabbage is just so tender and buttery that slaw is an excellent way to enjoy it.  I also included a Hakurei turnip in this recipe, it gives the slaw a nice peppery touch, radishes would work as well.  Try this recipe as a side with BBQ.

IMG_0426

Arrowhead Cabbage Slaw:

  • 1 Arrowhead Cabbage
  • 1 Carrot
  • 1 Hakurei Turnip (or you could use radishes)
  • Juice of 1/2 Lemon
  • 1 tsp Honey
  • 2 tbsp Olive Oil
  • 1 tbsp White Vinegar
  • 1 tsp Celery Seed
  • Salt and Pepper to taste

Arrowheads are so tender that you don’t need to run them through the food processor, just wash and roughly chop into strips.  Then, peel the carrot and then peel the entire thing into strips and also peel the hakurei turnip then cut into matchsticks.  Toss both with the chopped cabbage.  To make the dressing, combine the lemon juice, honey, olive oil, and vinegar and whisk.  Then, pour over the cabbage mixture and toss well.  Finish with the celery seed and salt and pepper to taste.  Let the slaw rest in the refrigerator for at least an hour before serving to let the flavors meld together.

While the slaw was in the fridge, I grilled the kielbasa (on my stove top grill pan – again, I envy those of you with a grill) and heated up some baked beans and voila!

IMG_0428

Grilled Flank Steak with Garlic Scape Chimichurri and Grilled Scapes

IMG_0418

The garlic scape season is incredibly short so this post is an ode to these beauties.  My two favorite ways to prepare garlic scapes are to grill them or to turn them into pesto,  and this recipe is the best of both worlds.  Grilled scapes and scapes made into a gorgeous chimichurri to top our steaks.  I’ve been eating this chimichurri all week, dolloped onto salads, on chicken, thrown into pasta… it’s delicious.

One of the downsides of city living is the lack of outdoor space and therefore, the lack of a grill.  We have a stove top grill pan that does a nice job but I still miss the nice char food gets on the grill.  So, if you have a grill, try this recipe ASAP!

Chimichurri is a green, herb based Argentinian sauce for topping grilled meats.  The backbones of a chimichurri are parsley, olive oil, vinegar, and garlic – this version substitutes scapes for the garlic and the outcome was a nice bright and fresh sauce.

IMG_0412

Simple Grilled Garlic Scapes

  • Garlic Scapes
  • Olive Oil
  • Sea Salt

Wash scapes and trim off the hard ends.  Then toss in oil and sea salt and add to the grill (in our case the grill pan) and grill for a few minutes until soft and the outside starts to blister.

IMG_0415

Flank Steak with Chimichurri Sauce (serves 2 with leftovers)

  • 1 lb Flank Steak
  • 2 tbsp low sodium Soy Sauce
  • 1 tbsp Vegetable Oil
  • 1 Garlic Clove
  • 1 tsp Dijon Mustard
  • Worcestershire Sauce
  • 6 Garlic Scapes
  • 1 1/2 cup fresh Parsley
  • 1/2 cup Olive Oil
  • 1/4 cup White Vinegar
  • Salt and Pepper to taste

First, combine the soy sauce, vegetable oil, dijon mustard, and garlic clove to make a marinade for the steak.  Mix together and then add in the steak.  Add a few dashes of worcestershire sauce and some salt and pepper and toss the steak to coat in the marinade.  Let marinate in the refrigerator at least 1 hour, up to 6.

To make the chimichurri, put the scapes and parsley in the food processor to chop and then drizzle in the oil and vinegar.  Season with salt and pepper to taste.  Let the sauce rest at room temperature before serving.  Leftovers should be covered and refrigerated and will keep up to 5 days.

To cook the steak, remove from the marinade and grill over high heat for 4-5 minutes each side.  When done, let rest at least 5 minutes and then slice thinly.  Serve with a dollop of chimichurri on top and the grilled scapes on the side.


IMG_0404

Week two brings two of my favorite CSA items – garlic scapes and arrowhead cabbage!  If you haven’t tried either, keep a lookout for them at your local farmer’s markets.

Garlic scapes are the shoots that grow from hardneck garlic varieties.  Hardneck garlic is hardier than softneck and grows well in New England, so us lucky New Englanders can get our fill of scapes.  The shoots are pretty tough but are super versatile – I like them in pesto or grilled.

Arrowhead Cabbage I love, not only because it looks cool, but because it is so versatile and delicious.  It’s very tender, almost buttery – it slices easily for slaw and is also delicious roasted, last year I wrote about a recipe for Roasted Arrowhead Cabbage which is a tried and true side dish.

IMG_0406

So, the haul as a whole, we got – clockwise from the bottom-left:

  • 1 bunch Kale – I chose Tuscan Kale because it’s my favorite, fewer tough ribs
  • 1 Arrowhead Cabbage
  • 1 head of Salanovia Lettuce – this is a new item, it’s touted as a ‘one-cut’ head of lettuce where you just cut at the base and the entire head breaks into bite-sized pieces
  • 1 bunch Beets
  • 5 pickling Cucumbers
  • 1 head Lettuce
  • 1 bunch Dill
  • Strawberries
  • 2 baby Summer Squash
  • Garlic Scapes

With the dill and the cucumbers looks like refrigerator pickles are in my future!  I’ll add some scapes to the jar to pickle too.

IMG_0408

Vegetable Bibimbap With Beet Thinnings

DSC_0054

Hooray!  Finally, a good recipe for beet thinnings!  Last year I just couldn’t quite come up with something tasty using them.  Which is a shame because they really are very pretty and all reports said they can be used wherever you use spinach or collards.

DSC_0043

So pretty, right?!

We’ve been making our own versions of the Korean rice bowl Bibimbap lately, especially since we have several tubes of the Korean chili paste gochujang left over from our kimchi making experiment .  The gochujang gives the bowls a nice kick which could also be replicated by hot sauce or combinations of chili powders.  Bibimbap literally means “mixed rice” and is basically that, a mixed bowl of rice, vegetables, and topped with an egg.  The bowls usually also contain marinated meat as well, but this recipe is for a vegetable bowl.  The best part about rice bowls is that you really can just throw in whatever sautéed vegetables you like.  I usually include some spinach so decided this would be the perfect vehicle for the beet thinnings.

One of things I’ve been unsure of with the beet thinnings is what to do with the baby beets since cooking times vary with greens versus the roots, if they should be left on or cut off to cook separately, etc.  I did a bit of research and most recipes using beet thinnings recommend trimming the thin tail at the end but generally leaving the baby beets on the greens, cutting the slightly larger ones in half to speed cooking time.  So, that’s what I did here and it worked out.  When cooking them I added them to a large saute pan with a bit of water so that they slightly steamed while sautéing, then added seasoning.

Image

For this bowl the vegetables used were: sautéed shiitake mushrooms and green garlic, sautéed zucchini, lightly steamed and sautéed beet thinnings, and chopped peeled raw carrot.  I did the initial steam and saute of the beet thinnings separately from the other sautéed vegetables and then did a final saute of all the vegetables together using a general seasoning combo of some soy sauce, sesame oil, and rice vinegar and then assembled the bowl – I made tons of veggies and had lots leftover for just throwing on salads.

Image

So, here’s how to do it:

Ingredients (makes one bowl with leftover veggies – the husband was out with the guys.  Double, triple or quadruple as necessary):

  • Bunch Beet Thinnings, trimmed as necessary
  • 4 -5 Sliced Shiitake Mushrooms
  • 2 Chopped Green Garlic stems
  • 1 Sliced Zucchini
  • 1 Peeled and sliced Carrot
  • 1 cup cooked Brown Rice
  • 1 Egg
  • 1 Tbsp Soy Sauce
  • 1 Tsp Sesame Oil
  • 1 Tsp Rice Vinegar
  • 1 Tsp Gochujang (or Siracha or other hot sauce or chili pepper seasoning of your preference)

Suate the shiitakes, green garlic, and zucchini in half of the sesame oil until tender, then remove from the pan.  Add the beet thinnings to the same saute pan along with a splash of water, saute until steam starts to rise from the pan and then cover for a minute or two to lightly steam the greens.  Then, remove the lid and saute until the water has evaporated and the greens are wilted.  Add the removed veggies back to the pan along with the soy sauce, rice vinegar, and remaining sesame oil sautéing until all the veggies are coated then put the veggies to the side to plate the bowls.

Assemble the bowl.  First, mix together the cooked rice and the gochujang.  Then, top with the cooked veggies and the raw carrot.  Finally, finish with the egg.  Most recipes call for the egg to either be raw or sunnyside up.  I have a deathly, inexplicable fear of raw egg white (unless it’s whipped a la pisco sours or meringues) and so I cook my eggs over easy to avoid any uncooked white.  Sunnyside up would probably make an even prettier bowl.

Mix together and enjoy!  The beet thinnings were great in this recipe, it gave the bowl a slight earthy flavor and the greens were just like spinach.  Success!

Spaghetti with Pesto, Green Garlic, and Endive


DSC_0179


I’ve never really appreciated chicory greens.  Greens in the chicory family are pretty bitter and include curly endive, also called frisee, escarole, and radicchio.  I like the idea of curly endive and pick up a bunch from the store here and there thinking it will make a nice addition to salads, but then it languishes in the refrigerator.  In my opinion, they really best work with salads that have blue cheese and candied nuts – flavors that mask the bitterness of the green rather than highlight it.  So, I did a bit of looking around to find recipes to use the curly endive we just got in our share that would be a bit more inspiring than tossing it into a salad with enough other stuff to disguise it.  In my research (googling), I found that chicory greens are very commonly used in Italian cooking and found quite a few pasta recipes incorporating the green – and this recipe was born!  I used up the curly endive, some green garlic also from this share, and some frozen pesto from one of the many batches I made from one of last year’s shares.  I can’t believe we are STILL working our way through our masses of pesto, but it’s been nice to not have had to buy any during the winter – and each batch is slightly different depending on what greens I made it with throughout the course of the summer.


DSC_0161

Green garlic is a great springtime treat.  It looks like scallions and tastes like a milder version of my beloved dried garlic.  Once the roots are off, the entire thing is edible, just chop it up and use wherever you use garlic.  I use lots since it’s pretty mild.

DSC_0164

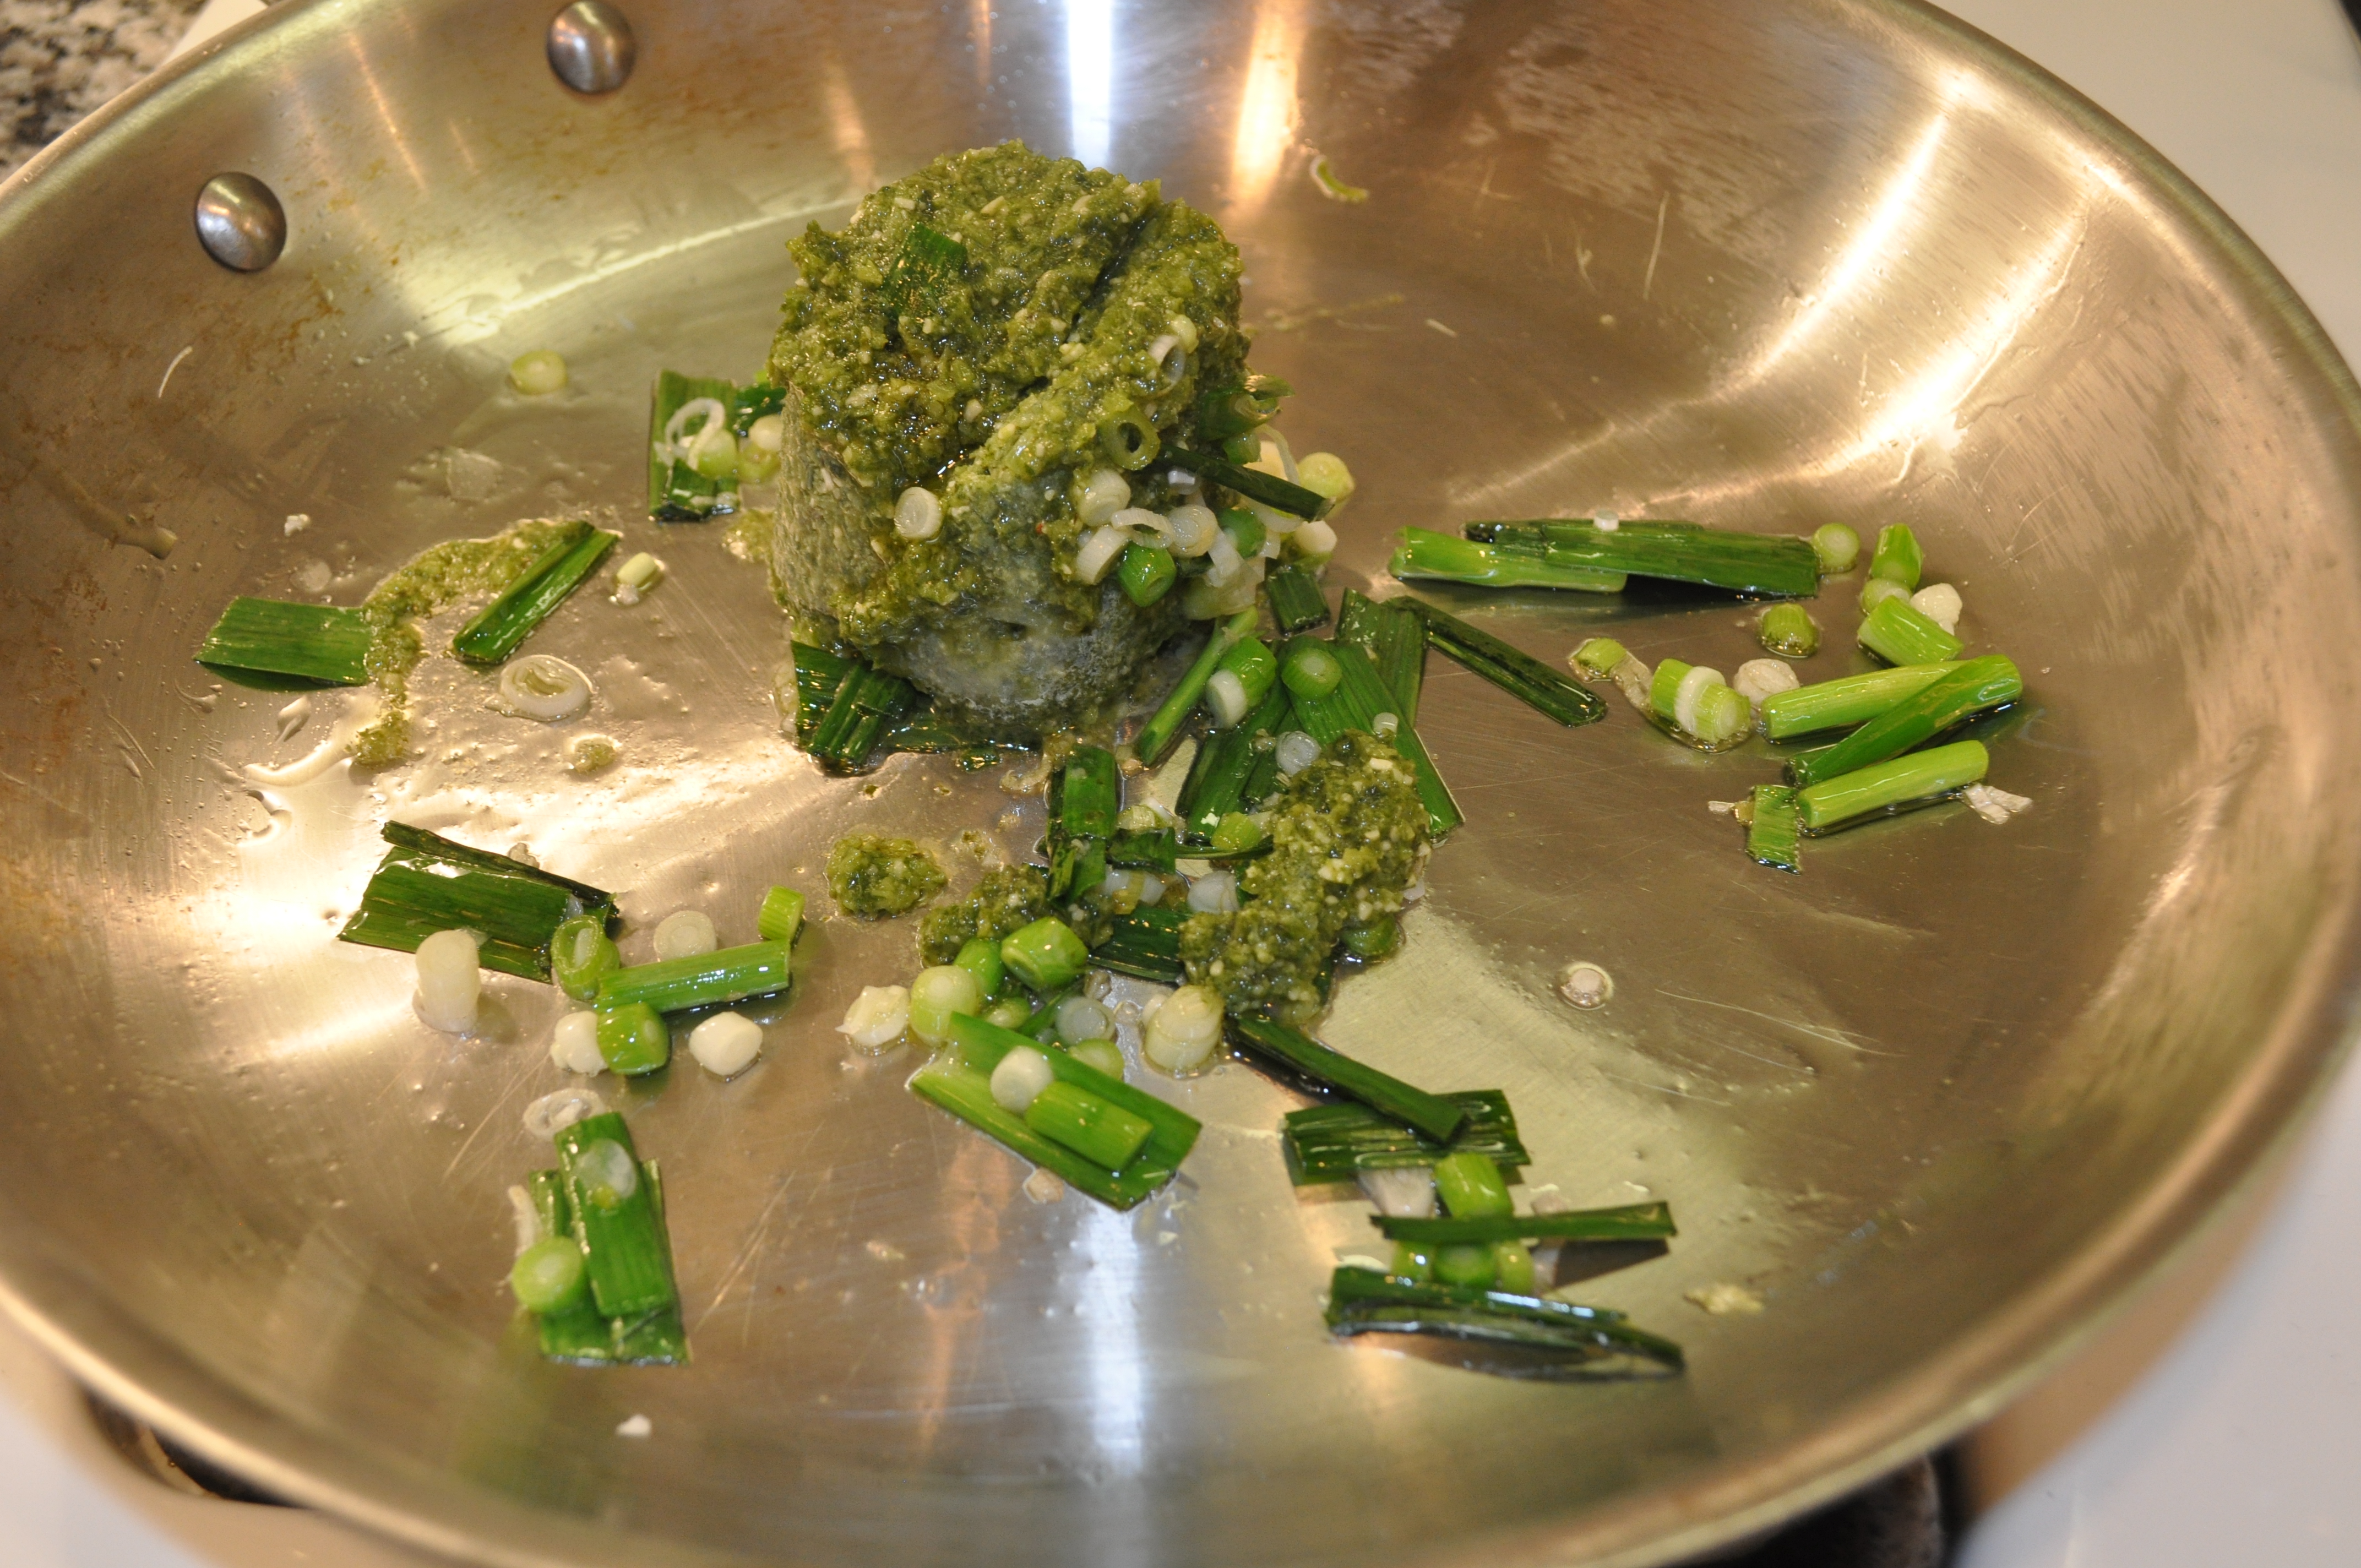
When sliced you can see the beginnings of the little baby garlic cloves inside.  After chopping the green garlic I sautéed in a bit of oil then added in a chunk of my frozen pesto, stirring until broken up.

DSC_0169

While the green garlic and pesto were on, I thoroughly washed and then chopped the curly endive to add to the pan to wilt and join the pesto pasta sauce.

DSC_0170

I used regular spaghetti for this recipe, it really would work with any time of pasta – try whole wheat, penne, whatever you have!  While the pasta is on to cook, make the pesto pasta sauce.

Pesto Pasta Sauce:

  • Chopped Green Garlic
  • Chopped Curly Endive
  • Pesto
  • Olive Oil
  • Squeeze of Lemon

Sautee the chopped green garlic for a minute or two in a splash of olive oil.  Then, add in the pesto, sautéing for a minute more (and in this case, until thawed).  Add the chopped endive to the pan with a squeeze of lemon and stir to slightly wilt the greens.  At this point, the sauce can be removed from the heat until the pasta is ready.  Just before draining the pasta, add a good-sized splash of pasta water to the pan with the pesto sauce and return it to the heat – eyeball it, this step is to make the sauce less thick.  Drain the pasta, toss in the warmed pesto sauce, top with Parmesan cheese and serve!

Cooking the endive cut the bitterness of the green and the result was a really nice fresh, spring pasta dish.  This is a great non-salad way to use up chicory greens.

Hakurei Turnip Salad

DSC_0175

Hakurei turnips are small, white Japanese turnips that are more watery and sweeter than regular turnips.  I often serve them cooked but they are delicious raw as well and make a great addition to salads.  Over the winter I would pick them up at winter’s farmers market to substitute for cucumbers.  To keep root vegetables the greens need to be trimmed off, otherwise they will continue draining energy from the root, so my winter Hakurei purchases were strictly the turnip.  Now that we’re back in the growing season and got a bunch complete with the greens, I made a salad using the entire plant.  And this, is a great salad.

DSC_0145

Hakurei turnips don’t have the woody outer layer that a lot of turnips or rutabagas have so they don’t need to be peeled, just wash thoroughly to remove any dirt.  After washing, trim out the middle ‘stem’ portion between the root and the greens and trim off the tail end of the root.  I thinly sliced the turnips and munched while chopping.  For some reason this bunch was a little bit more bitter than usual so I tossed the slices in a splash of vinegar to slightly pickle them to sit in and counteract the bitterness while I assembled the salad.  I made a warm dijon vinaigrette to dress the salad.  This is the base for pretty much all of my dressings, just tweaked with different herbs and vinegars depending on the salad.  I don’t precisely measure out quantities but I tend to stick to a rough 2:1 ratio of oil to vinegar.  Here, I warmed the dressing to wilt the turnip leaves a little bit.  I find warm dressings work well on tougher leaves, including kale and spinach, in order to tenderize them.

DSC_0149

Salad:

  • Turnip greens
  • Few leafs of Endive also in this week’s share
  • Hakurei slices
  • Apple slices
  • Walnuts
  • Blue cheese crumbles

Salad dressing:

  • 2 Tbsp Extra Virgin Olive Oil
  • 1 Tbsp Apple Cider Vinegar
  • 1 Tsp Dijon Mustard

The dressing ingredients were all whisked together and zapped in the microwave for just under a minute, then poured over the turnip greens and endive and tossed together to mix.  To plate the salad I layered the turnips and apple slices on the greens and then sprinkled with the nuts and blue cheese, topping with a bit more dressing, and served!

The vinegar of the dressing and the slightly pickled turnips paired really well with the sweet and tart of the apples and the blue cheese.  This is a great flavor combination to try that uses every bit of the Hakurei turnip bunch!

First Share of 2014

DSC_0130

The 2014 season kicks off with a lovely salad share!  The produce is slightly different than predicted in the email from the farm on what to expect, but pretty close.  I was a bit bummed because by the time I went to pick up my produce there was no spinach left and they’d reduced the amount of beet thinning greens and salad mix we could pick up.  We have a three hour window where we can pick up produce and I wasn’t able to get there until the last half hour so supplies had dwindled.  Don’t take more than your fair share people!  Remember us poor stragglers and save us some spinach!

Spinach aside, it was a great first share and it’s so nice to have an abundance of local organic greens again.  We got (from bottom left, moving clockwise):

  • Beet Thinning Greens
  • Bunch Hakurei Turnips
  • Head of Green Lettuce
  • Head Endive
  • Baby Salad Greens Mix
  • Green Garlic
  • Head of Curly Red Lettuce
  • Strawberries
  • Cilantro
  • Spring Dug Parsnips

How does 2014’s first share compare with last year’s?  Pretty similar!  It’s fun to see the progression of the growing season over the course of the summer and from year to year.  Our strawberries are a bit smaller this year, probably because it’s been such a cold spring.  But, we have more greens in this year’s first share, probably because last year was a very wet spring and the baby greens got drowned out so they had to supplement with more items from the root cellar.

DSC_0131

While none of the items in this share are particularly new to us, I did have a hard time figuring out a good recipe using the beet thinnings last year.  I wasn’t sure how to treat the little baby beets, cut them off and cook separately since they take longer than greens or leave them on?  Beet thinnings are just that, the baby beets that get thinned out from the row – too many beets next to each other and they won’t have enough room underground.  The greens are very high in Vitamin C and can be used wherever you use spinach.  So, since I have no spinach, I will come up with a recipe using the beet greens in their place.

The spring dug parsnips are a nice treat, I love root vegetables and parsnips are definitely tops.  They’re parsnips planted last spring that were left in the ground over the winter.  Leaving them in the ground over winter means that they go through the deep freeze and become extra sweet.  These will be excellent roasted.

I will leave you with a close up of our beautiful little strawberries, there’s nothing like the first whiff of fresh spring strawberries.

DSC_0136

2014 Season Starts!

csa1  csa_pickup

Happy 2014 and welcome back to the blog!!  We have once again signed up for a CSA share and are looking forward to another summer of local and organic eating, and of course, blogging!

We’ve had a pretty cold spring here in New England so the crops are running a little bit later this year.  Last year we got our first share the first week of June, but we’re not starting until this week this year.  That just means an extra week of root vegetables come fall, and I love my fall shares so that is fine by me!

I did just get my first email with what to expect in the first share and it got me pretty excited to start up again and think about recipes.  We can expect Green Garlic, Hakurei Turnips, Red Radishes, some Beet Thinning Greens, Lettuce, Spinach, Cilantro, Mixed Salad Greens, and Endive.  And, some very early strawberries.  The farm said this week’s share is going to be a little bit bigger than past early shares because they have an abundance of greens to make sure they don’t go by.  I see some pesto in our future!

Thanks for reading and joining us in our second year of blogging about or adventures navigating the world of CSA shares.


photo cred: Red Fire Farm